
A brief word about how I juggle the creation of my own meager, yet somewhat epic in scale, production in Carrara
Amidst the darkness of reality arose a hero lost in his own imagination. Together, he and his fascinations protect what little light remains and strive to make it brighter….
One thing that I really love to do when I’m at a computer is to animate 3d scenes. This includes the modeling, mapping, texturing, lighting, layout… I enjoy pretty much all of it. But when I begin to tackle the notion of making my own movie, I come to the brutal conclusion that I really cannot do it all. At least that’s what the reality was when I first took on this idea. During my quest in this I’ve taken up a habit of watching all of the Disc 2 special features that come with movies – especially watching for their production footage on special effects and animation. It was interesting to learn that the near one minute shot of Obi-Wan Kenobi vs Anakin Skywalker in the lava pit cost over 70,000 man hours to make – just that one scene! Very interesting stuff. It really helps to bring about an understanding of what sort of goals to set if one does wish to do it all by ones self.
 I know that I’ll sound like a broken record here again, but for me, Carrara is a key ingredient to allowing me to push on and actually be able to keep all of the ambitious project ideas alive. I need the help of asset creators. The 3d figure marketplaces do that for me very nicely. Carrara contains the tools and features that allow me to conduct any part of the process all by myself, and often without any other software, aside for a good image editor and movie studio, of which I currently have several. But where Carrara really shines for me, is that in addition to doing all of that important stuff that I really need, it also allows me to easily load in and use Poser-style DAZ 3D content – Michael and Victoria being huge examples of this. I have scenes that have three generations of DAZ figures in them – each still being so useful. Having Michael and Victoria also grants the ability to have Aiko, Hiro, Girl, Freak, etc., which makes for a lot of time saved for me – the person with the ideas and some clues on how to direct the project, but also having a very finite span of life on this planet. Let’s not forget Millennium Cat, Big Cat, Dog, Dragon, Horse and all manner of creatures and dinosaurs, aliens and robots created for Poser and/or DAZ Studio. These models are professionally rigged, UV Mapped, Textured and what some of us may just now take for granted, uniformly scaled to work with one another. So not only are these finely rigged and optimized figures important, but their support props as well, including vehicles, habitats, clothing, hair, weapons, tools, vegetation, food, musical instruments… now check this part out… really: Look through DAZ 3D store.
  Check out Renderosity, ShareCG and many other sites that have Poser/DS figures and props available. Look at the oldest stuff they have. It’s amazing how excellent everything is.
You see, once you get these things into Carrara, you have to optimize them anyway. So even some of the models that might not have the fanciest new look to their textures or promo images can be exactly what you need. Carrara has so many built in ways to simulate materials onto your surfaces. What’s more is that it can do so even if there’s no UV Mapping for it! So even if you haven’t a clue about mapping, you can use Carrara’s powerful procedural shaders to very quickly make any model look great! Just don’t forget to now add it to your Carrara browser, after you’ve made it just right!
Major productions – are very involved and have specific deadlines in time and expense. I referenced the watching of Special Features earlier. It’s amazing how much of that time and expense just goes into the process of pulling the grand scheme out of the head that has the original dream, and onto the workbenches of those whom will be tooling it to work just right, according to that dream. Being the person working Carrara’s controls puts me in a wonderful position, when I’m also the person with the dream and the ability to make decisions regarding anything that goes along with production. The only payroll I have to pay out is in asset purchases, and keeping my internet and electricity alive. My movie-making aspirations never were to actually rival anyone or their work, but just to make something that is interesting and fun to watch with a quality that I can be proud of in the end.
The further I delve into what I’ve not yet done in Carrara, the more I realize that I can push that quality up really well with this rather complete blend of CG tools. But I’m still trying to hold on to some of the techniques that I’ve acquired towards keeping my renders really fast. Sometimes learning new skills and then pushing to use everything in production can lead to a lot of time to do anything, which leads to less time in the wonderful creative process, which can all lead to frustration and eventually the project gets dropped or put on indefinite hold.
This is not to say to stop learning new techniques – absolutely not! Because learning is exactly what we have to consistently do in order to pull this off. So part of the initial goal is to foresee that you will learn and you will advance with the times. But when it comes to the actual production, you have to make decisions on which paths to follow and when.
Render times in Carrara – can be blazing fast like lightning, or they can take days and possibly even lock up your system before it’s complete. Higher render setting require a lot more calculations from the engine, but can truly be worth the wait in the right situations. Those situations, in my opinion, rely heavily on how well you know the stuff that is set up to be rendered in the first place. For example, turning on Caustics in the render settings with add drastic amounts of time whether the scene would benefit from it or not. But if your scene is designed to be rendered using it, then the price in time might certainly be more worthy. The same can go for many other, less extreme settings. When I rendered my first scene in Carrara I was truly impressed with how fast it was on my lowly computer. After learning how well Carrara can handle what I wanted to do with it, I built a computer around the idea of being the best Carrara Computer I could make with the budget I had. My eight core PC is still quite lowly compared to a professional 3D rig, but it is beautifully fast enough for me to see to my aims.
 I noticed that higher output resolutions dramatically change the time it takes to render. Since I am shooting towards something that looks great on a wide screen TV, I decided to work with the lower High Resolution of 1280 x 720. Resolution is also determined by the Object and Shadow Accuracy settings and the anti aliasing is often needed at least to some degree. So I ran many tests on various settings comparing the speed of production with the quality of the picture. I have found that, even though there is a remarkable difference, side-by-side, using one notch higher settings in the sharpness of the image, when not comparing side-by-side I am quite happy with the lowly Object 2 and Shadow 4 with Fast AA as is the default. But that’s just a production decision of me for me. With my new computer, I can crank the setting much higher and still be okay. So I went ahead and did that for a while. After seeing some of my older work, however, I switched back. Each artist has their own vision – their dream. It just turns out that my style lends well to less crisp edges on things.
Lighting – plays a huge factor in rendering times. Phil Wilkes got me started on a path of trying to maintain a linear workflow. A rather intense subject of output optimization. One key note that he makes is that Carrara engineers have a built-in linear setting of Gamma Correction at 2.2, so I started adopting a different method of lighting my scenes and going for settings that seem to take good advantage of this whole concept. In many cases my scenes actually render faster. But when I go for the glory and crank up all of the Global Illumination and Indirect Lighting, it can really take a toll on production. The GI can really render fast a lot of the time. It really depends on how your scene is set up. But using IL, you can also get illumination from glowing objects as well. So far, I’m much faster at ‘faking’ my own IL, but still try GI when the situation calls for it. The big thing here, is to make sure that the style you adopt can be matched if you abort it for part of the project. This fact made me skeptical towards changing at first – but now I’m really liking my decision to keep shooting for the linear method.
A thought regarding Indirect lighting (IL) vs Faking IL – I usually work out my own lighting, be it an inside or outside scene. For outdoors I use a replication of lights the simulate global illumination, in combination for a single, more powerful directional light for the main, shadow-casting source. Then I mimic what Indirect light will be needed – not necessarily what might appear to be most realistic. Remember, I’m trying to tell a story, not trying to convince everyone that I can simulate real world lighting environments. The later is fairly easy to do in Carrara, given enough practice and following some of the expert advice available within the Carrara community. Carrara’s global illumination system with IL can make some really accurate simulations of real life lighting, especially when the right shaders are used.
For my needs, I follow this process instead: Provide lighting for the background. Detail becomes less important, yet I’d like the accent lights to come from the same direction as the main focal point. Make sure that the Main focal point really stands out to get the viewer’s attention, right from the start. Since this element is specific to the character, for example, I like to make a separate rig for each character, using a ‘default’ rig that I’ve made for such a thing as a base, and tweaking it to fit the specific character in mind. With just those two considerations, here’s what needs to be done. First of all, when I set up an individual rig for a character, this cannot be done haphazard style. I have a special “Character Setup” scene saved to my browser. In addition to the special “Character Light Rig”, the scene is also set up with some cameras and the appropriate render settings. Including the cameras is important, so that I’m always setting up the light rigs from the same point of view. I do it this way, because it makes the whole process of matching the background lighting so much more efficient.
You see, these light rigs on each character barely light them all on their own. They are only meant as accent lighting to help make them ‘pop’. By the time I’ve completed setting up my character using this system, the light targets and cameras, and other groups all have unique names, specific to that character. This is to avoid confusion when setting up a scene with multiple characters. Now I should mention that my environmental scene lighting is then set up to work with these character rigs. Again, I have specific light rigs set up for use with any outdoor scene, making it really simple to optimize a scene for when it comes time to call in the actors and shoot some footage. I am so used to what this lighting does by now, that when I set up an indoor scene from scratch, it is a very straight-forward and quick process – beginning with adding lights and light effects to anything in the scene that should give off illumination. Like my outdoor scenes, I’m only worried about lighting the environment. It will be this environmental lighting that creates the shadows from my characters onto the environment, but that part comes along nicely as I set everything up.
Indoor and outdoor scenes can easy make good use of the ability to turn off shadows. I say this because, sometimes we really need to brighten things up, or add color that isn’t already there. Lights without shadows can be used in handy places for control, while not being blocked by intervening props. Sometimes I might actually place a short-range light with a lot of color for each glowing thingy in the scene – so that that color gets onto the characters as they walk by. Other times I’ll instead use a single distant light without shadows, and change the color according to where the character is standing. Each light has the ability to affect only one thing, everything but one thing, or anywhere in between. So this light can be duplicated for how ever many characters you need them for – if they need to have different colors than the others. Keep in mind that, often our motion scenes of walking and such, go by failry quickly, and may not even show which button is casting the light. I feel that it is still important to keep consistent with the scene – you never know….


 Saving...
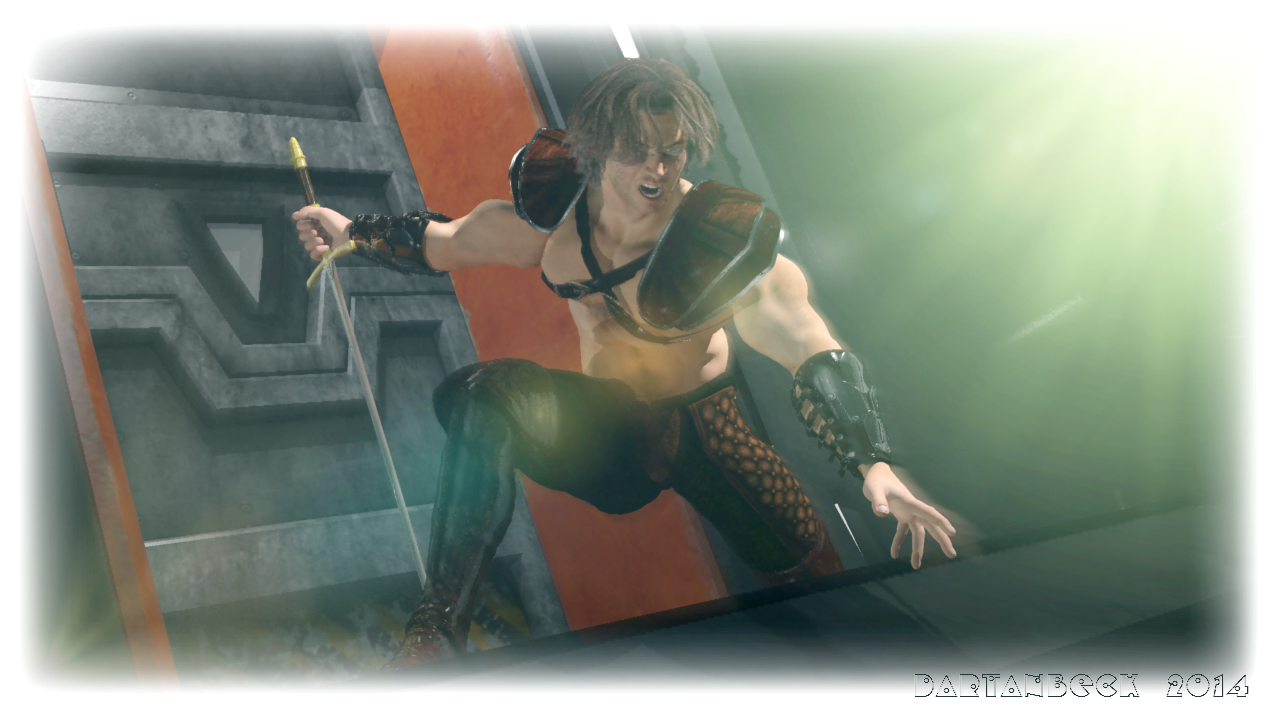
The cover image for this article, Dartanbeck! I love the “softness” of the style with the energy of the pose. It says FANTASY! I’d love to see a walkthrough how you are getting that look…. Is it a lot of postwork? IMO there should be more pride in this kind of “not-bleeding-edge game engine” look (ie: ART). I like photorealism as much as anyone, but there’s so much more to 3D… More illustration and art!!! MORE COWBELL!!!!
Thanks Holly!
The energy is certainly in there – the animation turned out really nice as he slams his blade into the gap in the floor without looking as he leans over the edge and lets out a hellacious scream! 🙂
I am really getting into placing Carrara’s Volumetric Clouds into the camera to help gain this effect, but it takes some time and patience to get it just right. Sometimes it can block too much making it go too much the wrong way – making it look more like a bad render. But in this case, it also helps immensely in selling the animation by having the movement of the mist during the animation. It’s very subtle but that’s what I wanted.
A little post work from Dogwaffle Pro
I’m now totally hooked on Howler, as these sorts of effects can be done very quickly over an entire animation. Tutorials on that to come 😉
TUTORIAL!!! TUTORIAL!!! 😀
Well, since you are teaching me how to use my new DCG shader improvements, I’ll see what I can do! 😉