New plugin : HDR light Domes
Philemo introduced a new plug-in!
Carrara has 2 kinds of lighting, direct and indirect.
- Direct lighting comprise all kind of lights (directional, sun, bulb, spot, anything glows, shape lights…).
- Indirect lighting are ambient, sky light and indirect light.
The main difference between direct and indirect is that all the features of the lighting model (highlight, shadows, SSS, translucency) are used only with direct lighting. Indirect lighting considers all materials as mate, with no SSS, shadowless. If your materials follow this description, then no problem. Otherwise, renders using indirect lights often seem dull and whitish.
The goal is to add a true environment lighting in Carrara, as seen in all modern renderers.
To come back to this plugin, the idea is to create a dome of direct lights (here directional lights) with value extracted from an HDRI map. This is supposed to give the best of both world.
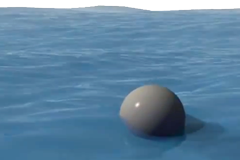
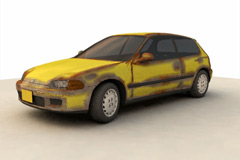
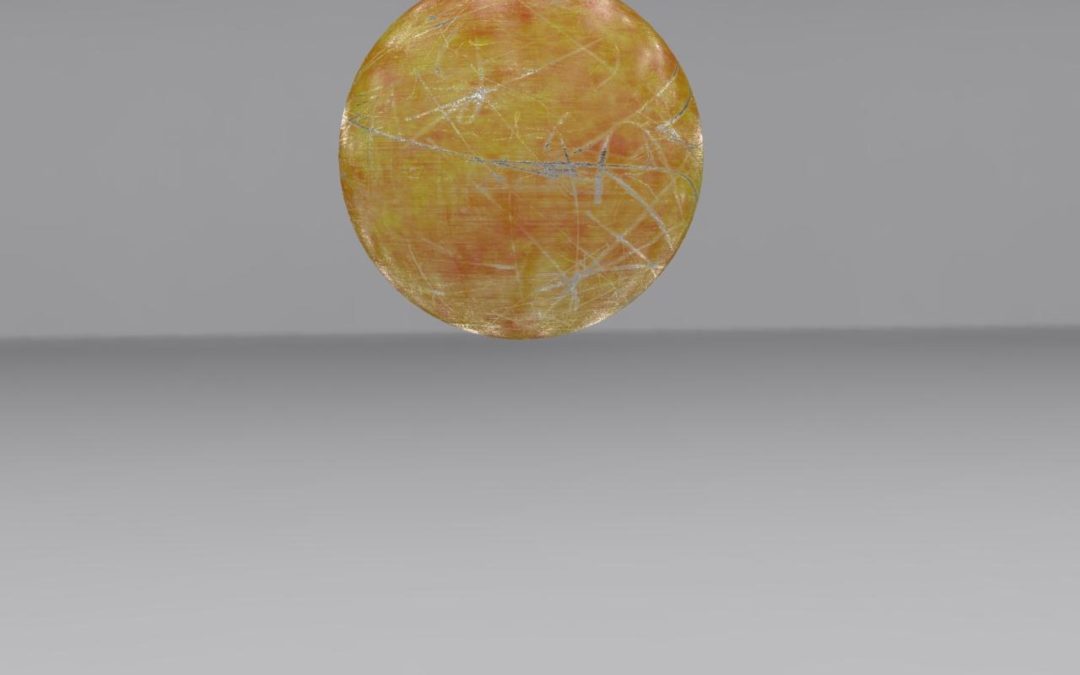
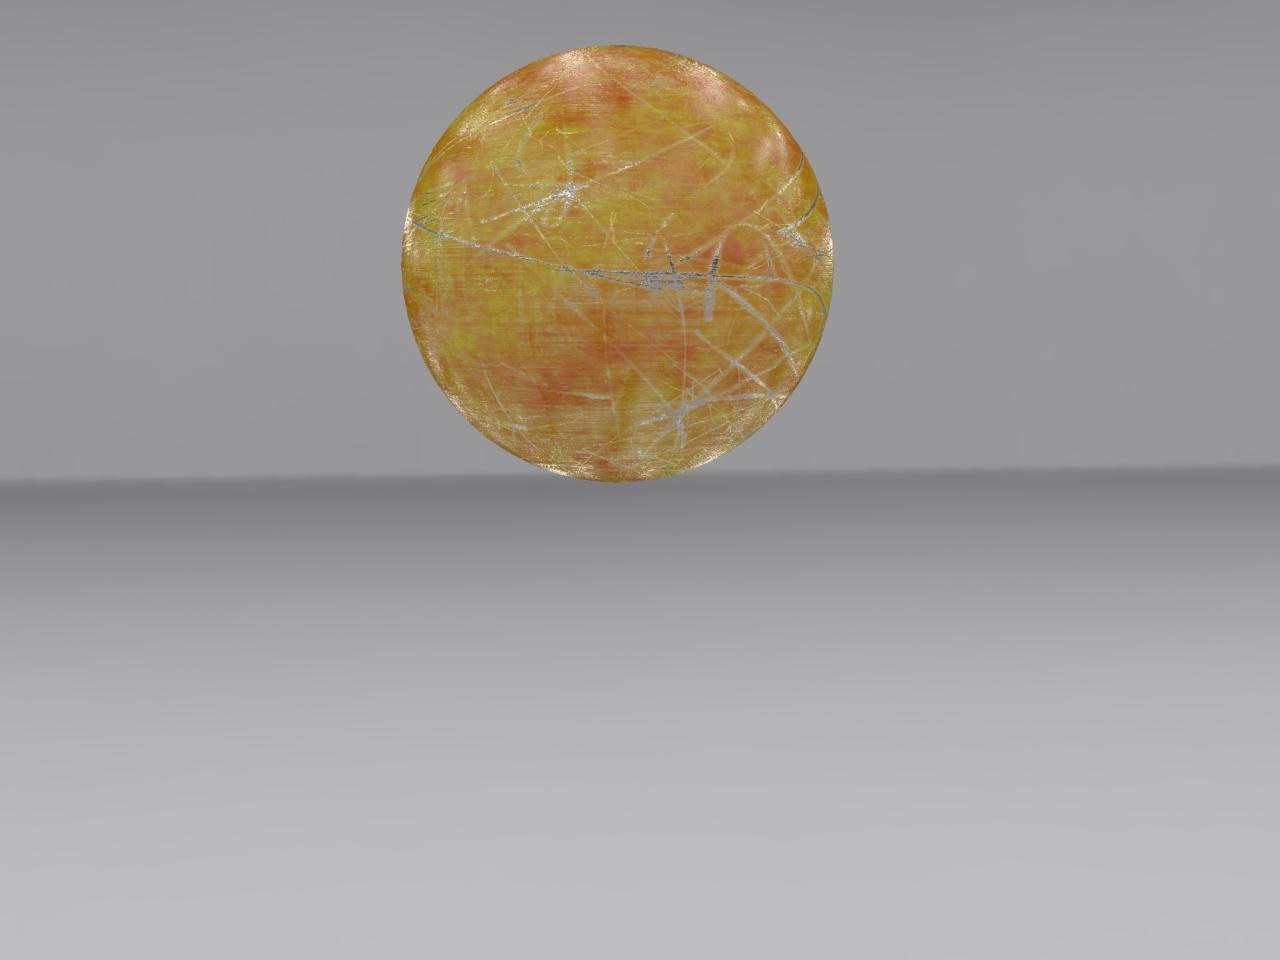
A side by side comparison of rendering a shiny object using sky light and dome light
Sky light
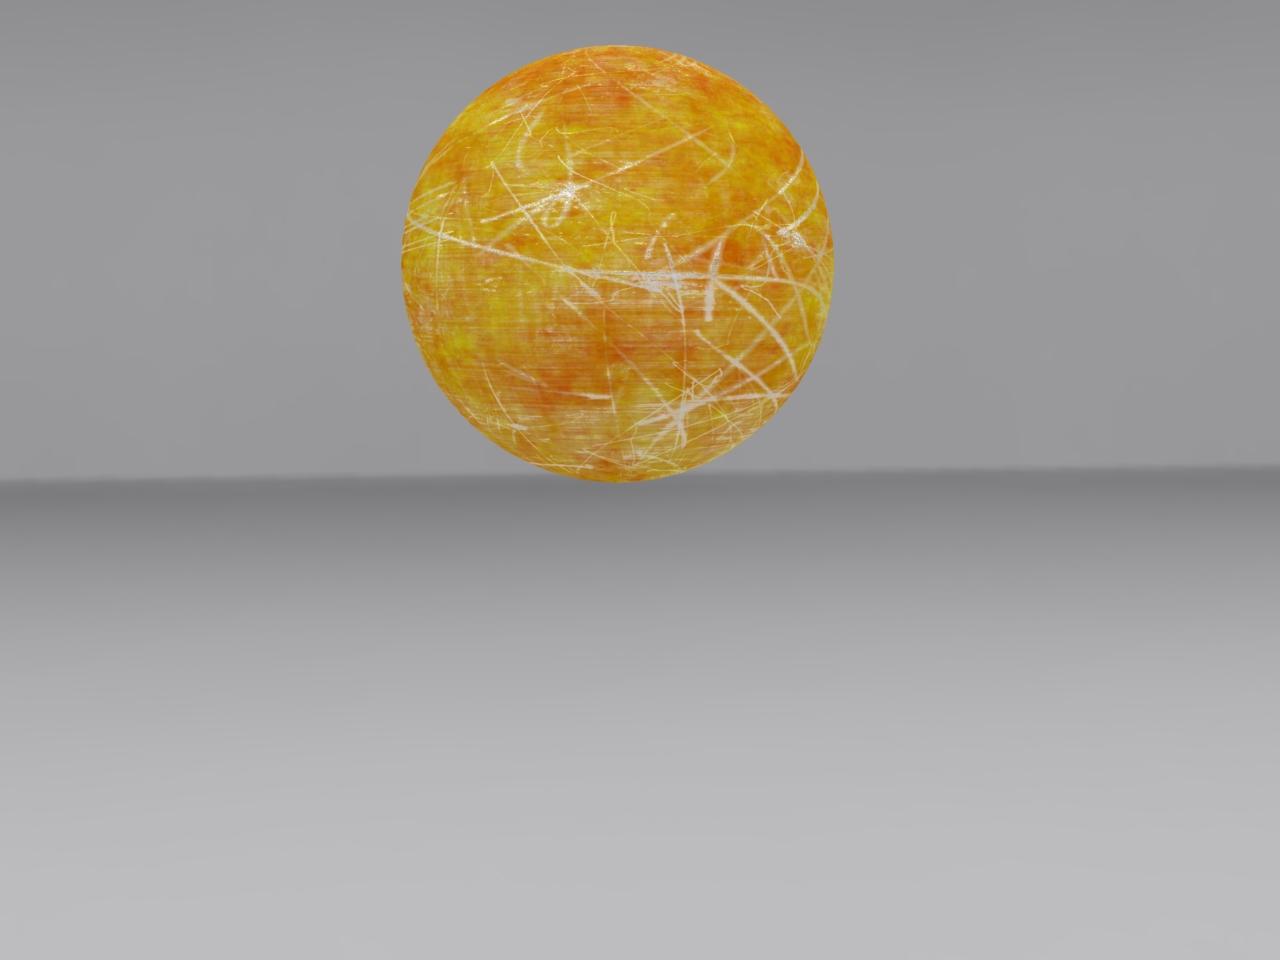
Dome light

How to use it
First, there must be an HDR Background set for the scene
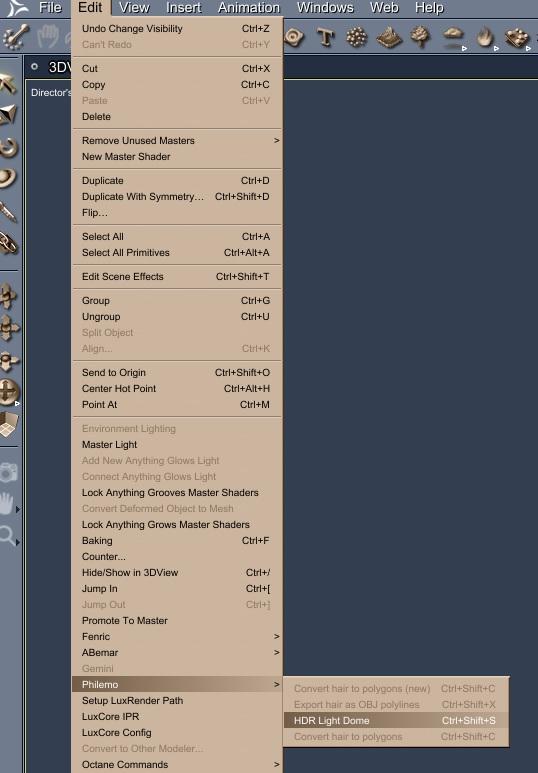
The command to create is in menu EDIT/Philemo/HDR Light Dome.
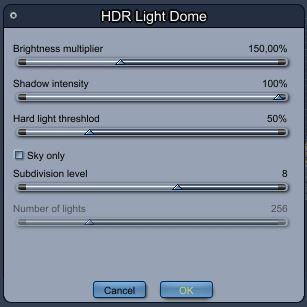
It open a window with 5 parameters:
- Brightness multiplier. It’s similar to the sky light intensity slider in the render room. It’s related to the shadow you’ll use (hard light threshold slider a bit below). The more shadow, the more brightness you need
- Shadow intensity. Same as in lights.
- Hard light threshold. It’s the threshold below which a light will be considered a hard light (ie cast shadow). A 5% value leave only the sun as hard light in a bright sky. A 200% value has all the lights as hard light.
- Sky only : Will generate a half dome and no light from the ground.
- Subdivision level : drives the number of lights generated by a power of 2. 5 is 32 lights, 6 is 64, 7 is 128, 8 is 256…
Optimal is often found with 256 lights, 200% threshold. It may be a bit long to render, more if you have transmaps, so you can lower some setting. That’s why the default is 50% threshold
Of course, when rendering, sky light option should be unselected.
The plugin is available here
It’s Windows only (I have some issues with my Mac, I hope to solve soon).
More info you can find at https://www.daz3d.com/forums/discussion/331301/new-plugin-hdr-light-domes#latest
