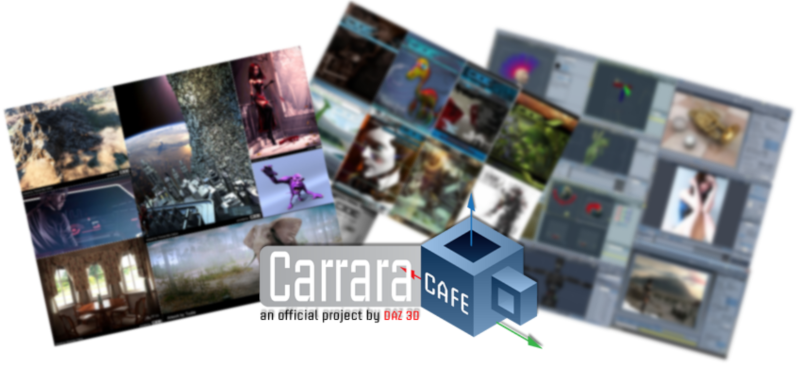
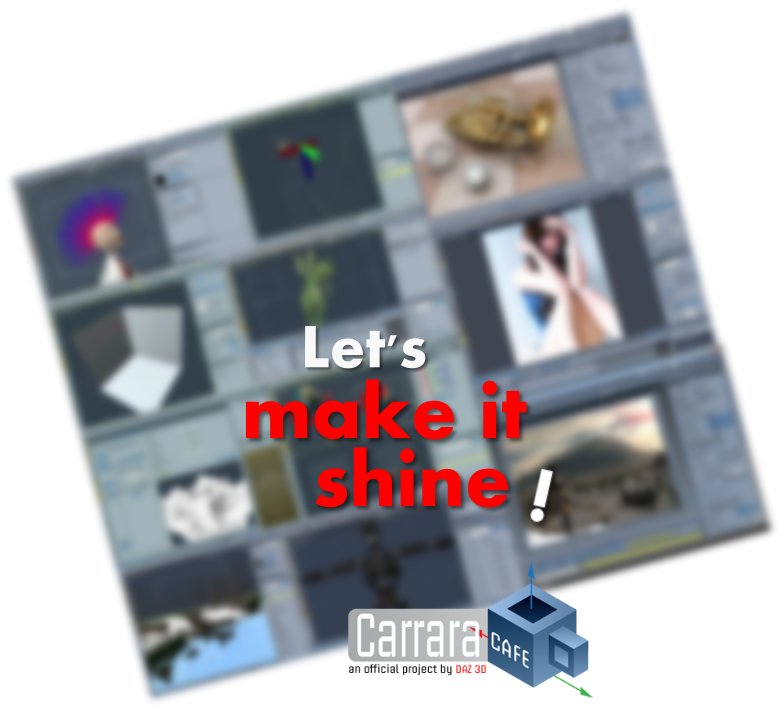
Let’s make Carrara shine!
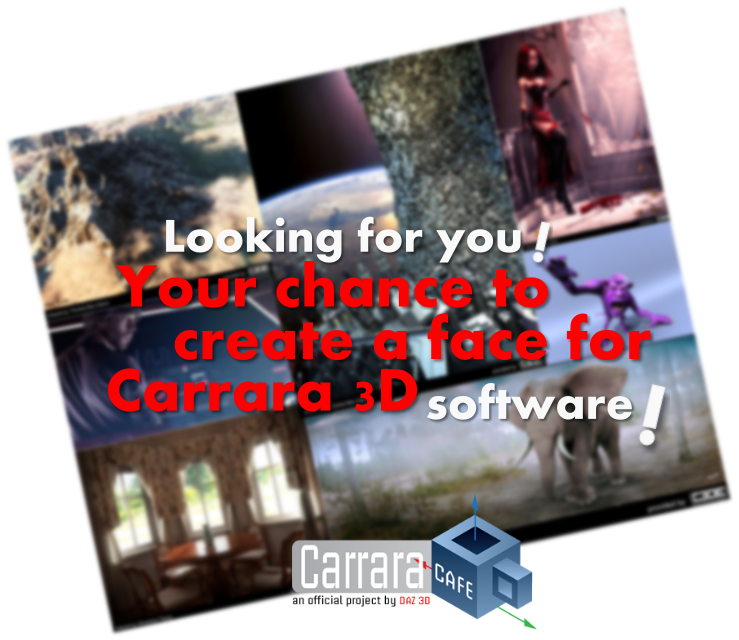
We are refreshing the looks of Carrara Cafe and would like to make it represent Carrara in the best way possible! There fore we are looking for Carrara users who would like to be a part of creating a face for Carrara so it would stand out.
For many years we know how versatile Carrrara is and there are so many talented artists around the globe. It is time to gather all amazing artwork and show how wonderful Carrara 3D users are! So this is your chance to become a featured Carrara Cafe artist and show how amazing you are! If you want your images and videos be featured on the new looks of Carrara Cafe and be one of those amazing artists everyone look at, do not hesitate to send your artwork to c3de.magazine@gmail.com
The topic of your e-mail should have a prefix “Carrara Cafe Face” so we would know it is a submission for Carrara Cafe 🙂
To make things even more exciting there is one more great idea how we all can make Carrara stand out from all other software and show how great Carrara users community is! It is to show why we love and enjoy Carrara. We are looking for you showcasing and telling us what features of Carrara you enjoy the most. Once we gather your exciting stories and showcases of what features makes you enjoy Carrara, Carrara Cafe will create a dedicated page showcasing Carrara’s features and it all will be made from your submissions! Short videos, images, animated GIFs, your phrases and exciting wordings with your name displayed on a proper demonstration of Carrara!
Isn’t that exciting!
To share what you like about Carrara please looks for a new Carrara Cafe section dedicated for that. And of course, you can send your showcases to c3de.magazine@gmail.com prefix for the e-mail topic should begin with “Carrara Cafe I like”
One of the best sources for “Let’s Make Carrara Shine!” project to begin would be C3DE magazine. We would like to ask every participant of C3DE magazines to confirm if they are okay if we would also show their artwork on Carrara Cafe front pages as featured images? If you would love C3DE to show case your artwork in this project, please send us an e-mail to c3de.magazine@gmail.com with the topic prefix “C3DE for Cafe Face” together with your confirmation letter.
Wondering what happened to C3DE? Where did it go and why there were no new issues for so long? Answers should get their way to the public together with juicy Issue 11 considerably soon in a couple of months.
Some details about material fro those who are interested. We are now on the door of new age where technology runs on extreme pace. We have mobile networks and mobile devices with screens ranging from QVGA to retina and even 4K on mobile phones, not to mention 4k standard is on its way to be in everyone’s home. You are free to submit files of any size and dimensions (not to huge of course) but the better the quality is the better. So we should look for 1080p HD and qHD as a standard. We have no trouble to scale down the images so feel confident to submit high resolution images. Video submission would be best in HD. GIF visualizations would be best in as minimum size in Mb as possible. Carrara Cafe is viewed by various people with various internet connectivity and not all of them comes from speedy networks, we should take them into consideration and be polite to keep the load as minimum as possible.
All still images should come with a small signature on the right bottom corner of the image. For all other submissions you should provide us with your name you would like to see your credit with. Every artist submissions will be credited.


 Saving...