

Mocap into Carrara – by CyBoRgTy
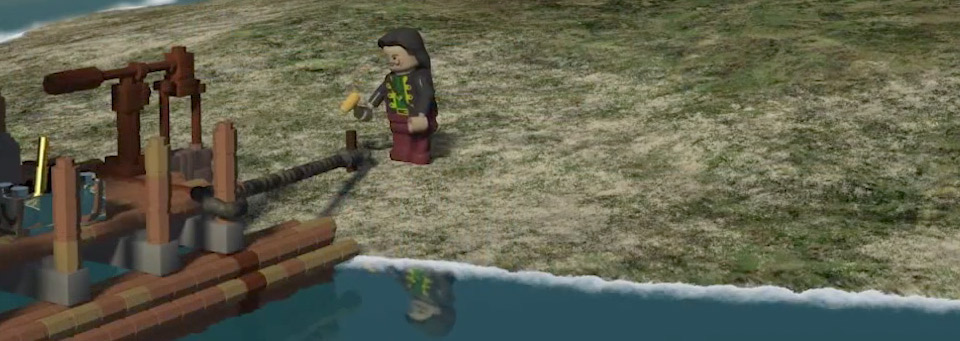
A Pirate’s Quest by CyBoRgTy uses motion capture to animate in Carrara
Mocap in Carrara – by CyBoRgTy
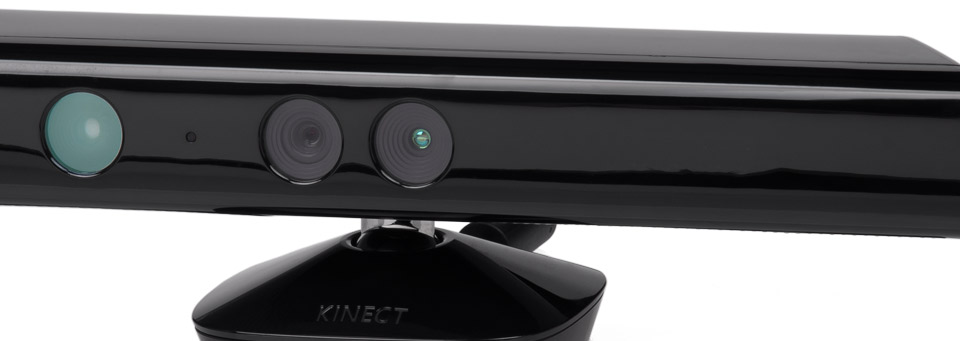
Animating in Carrara can be a lot of fun, especially when you combine keyframe animation with your personally captured motions. As a hobbyist creating mocap, I like to use the markerless kinect-based solutions. Some are free but don’t have the features and usually cannot provide the results possible with more costly solutions. When comparing affordable kinect-based mocap solutions, I found iPiSoft tools (iPi Recorder and iPi Mocap Studio) using the dual kinect configuration provided the best results. So, my mocap to Carrara workflows will usually include iPisoft.
When using mocap to animate my characters in Carrara, there are two categories of workflows to consider; one for pre-rigged characters (such as the Daz or Poser models) and the other for characters that are not rigged yet (personal creations, others from public domain, etc.). I mostly work with my personally created characters, such as the Lego characters in a few of my movies. Since Carrara does not have rig retargeting like what is in Maya or in Lightwave with Nevron Motion plug-in, I need to make sure my characters use rigs that have bone naming conventions compatible with the tools used to create the motions. Of course I could import a motion file and apply the ‘Track’ modifier to various bones to get my characters to track/move with the imported bvh bones regardless of naming conventions. Instead, my characters’ bone / skeletal rig hierarchies are either based on the bones exported from iPiSoft tools or based on structures exported from iClone. The bone naming hierarchy used depends on my chosen workflow for the project.Using Carrara and iPiSoft tools with unrigged characters
This is what I use most with my personally created animated characters. If you are like me and not afraid to model or if you locate unrigged characters around the internet, this might be of interest to you. With this procedure, you are applying the iPi exported rig directly to your character. This speeds up the rigging process and creates the shortest/fastest path for taking iPi created animations to Carrara. The general workflow is:
1. Create story, design set, storyboard, etc.
2. Create or acquire unrigged character
3. Use iPi Recorder and iPi Mocap Studio to create motions required by the story for
that character (I use either one or two xbox Kinect cameras)
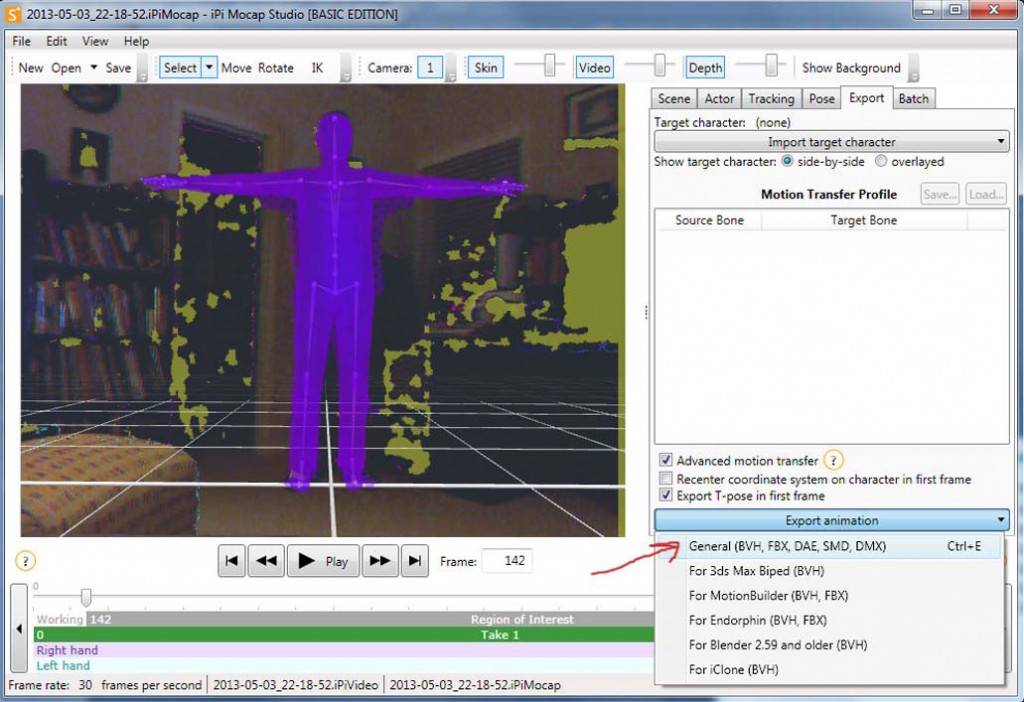
4. Export motions including T-pose from iPi Mocap Studio using general FBX
export
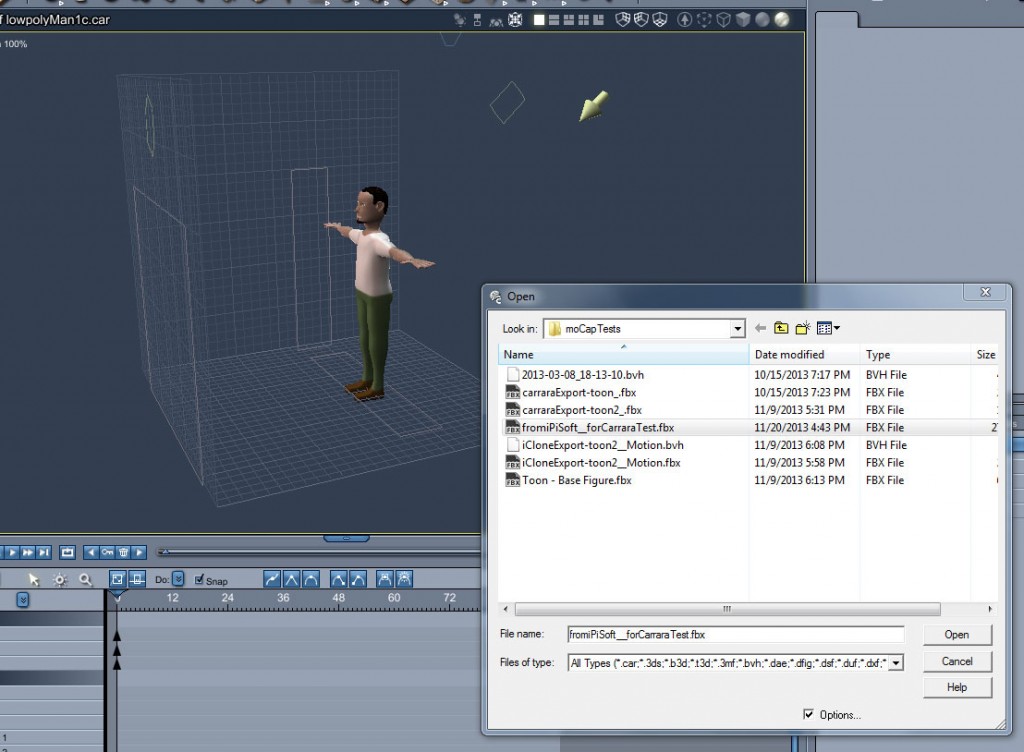
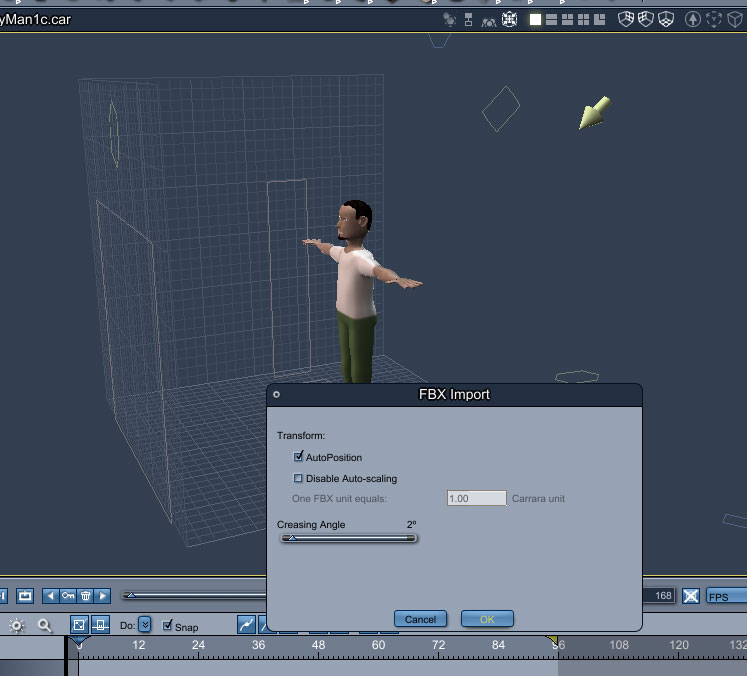
5. In Carrara, import FBX motion file created in iPi Mocap Studio.
6. Align motion bones with character size and shape.
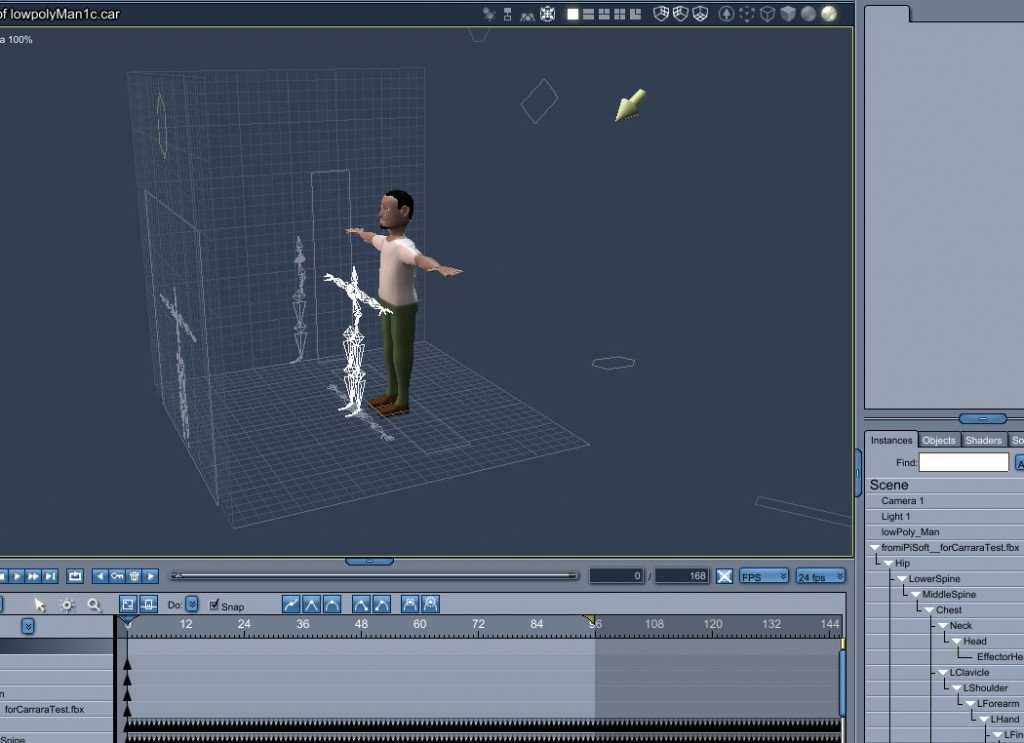
You should select the bone group and scale it to the character’s height. Then, translate the bones to place the joints where they should be on the character.
7. Attach bone hierarchy to character and adjust weights as needed.
Scrub through the timeline to watch the animation and to check bending as well as bone influence on the character mesh. The character shown above is a simple low poly man that I created in Carrara (around 2000 polygons). I almost did not have to adjust any of the bone weights (I had to adjust a little around the fingers and thumbs). But you might have more to adjust with more complex characters.
8. Add character and bones to animation group.
9. Create animation clip from motion data.
I usually will covert the animation to Animation Clips, which helps with reuse of animation sequences as well as retiming.
If you need to import additional motions for this character, you should select the ‘Create New Skeleton’ option when importing. Add this new skeleton to an animation group. Now you should add the motions to a new animation clip and this clip could be used with your previously rigged character.
